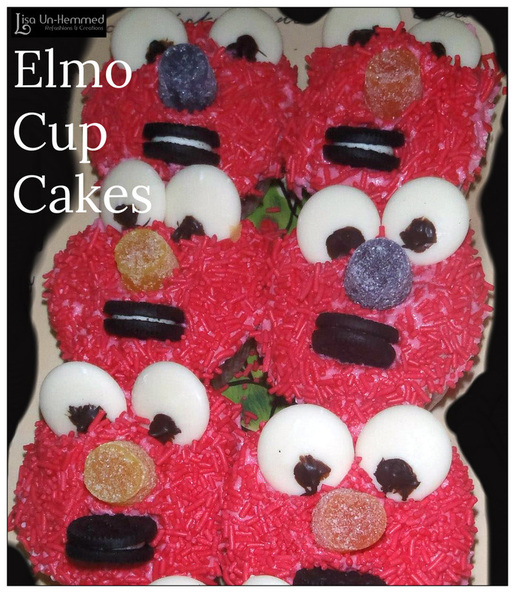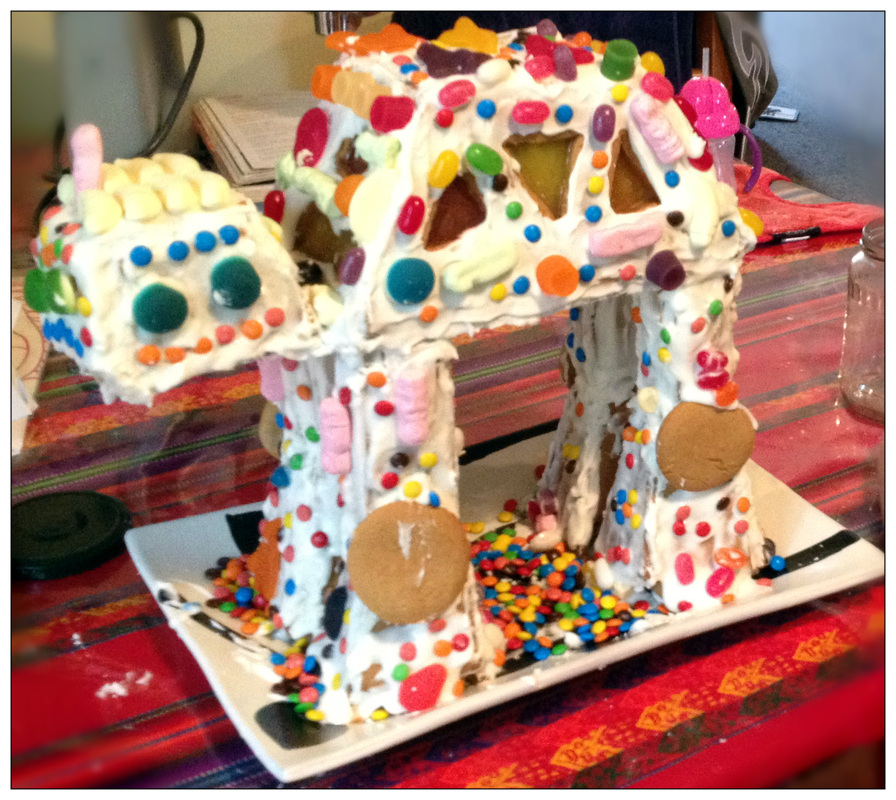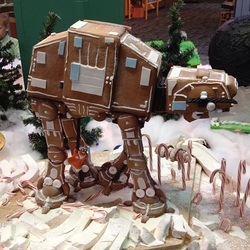
My brother and I were given a challenge this Christmas by an Auntie to create something inspired by
this picture to the Left.
Unfortunately the link to the bakery that originally made it doesn't seem to work but it looked amazing.
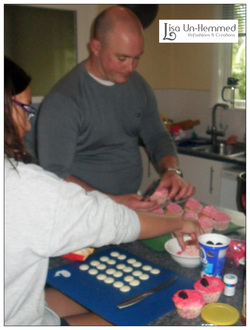
We thought we were up for the Challenge so gave it a go.
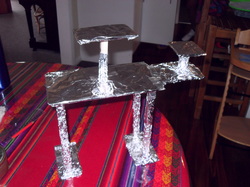
My Brother made an amazing frame work from wooden dowling and a clip board.
He hammered it together and screwed and glued it and then covered it all with foil.
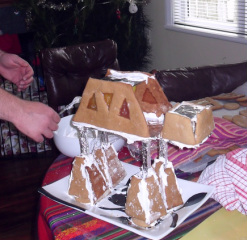
We then stuck it all together with Royal Icing and let it set.
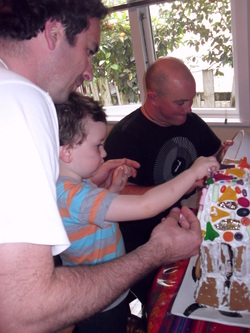
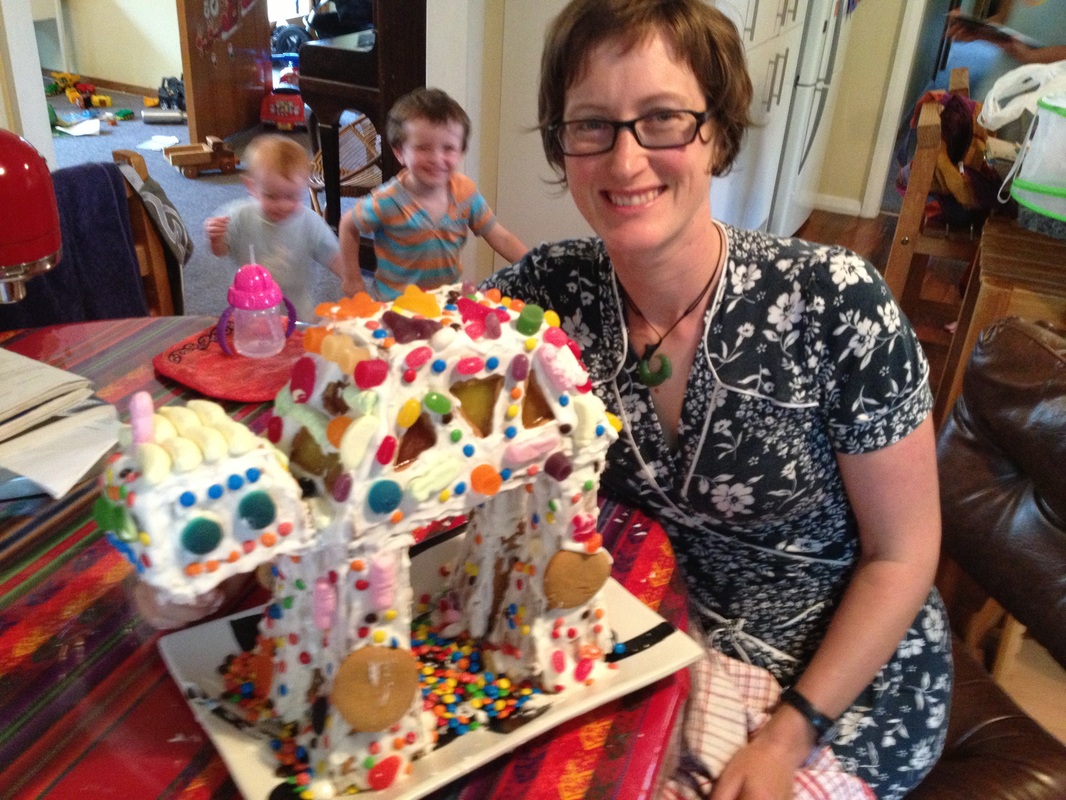
Then it was decorating time with the family help taste testing as we went!
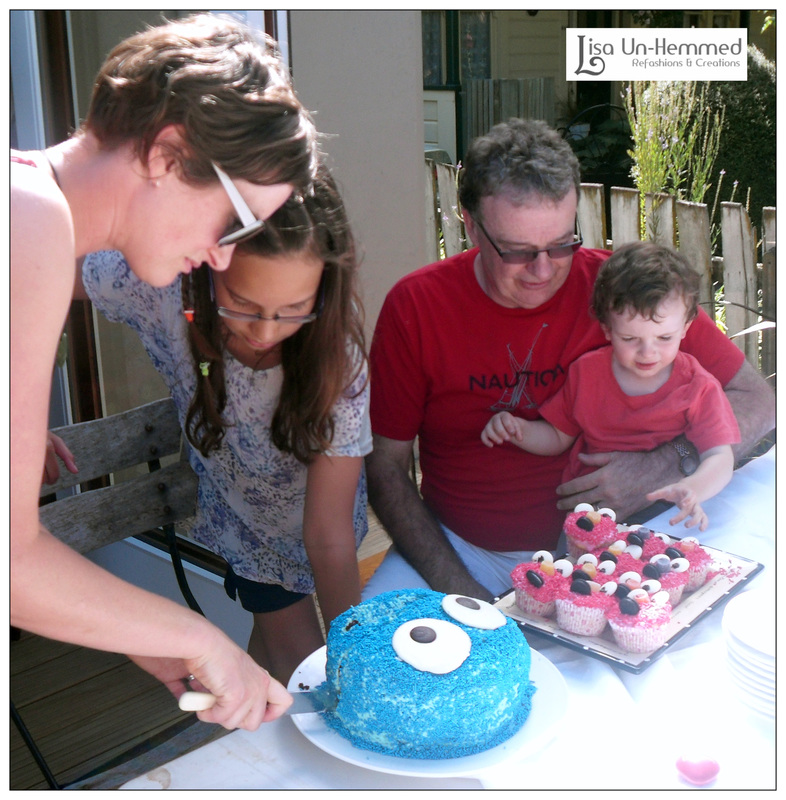
Considering it was our first ever go and we have to make everything from scratch we are super happy how it turned out.
Tigger and Mouse can't wait to attack it either!
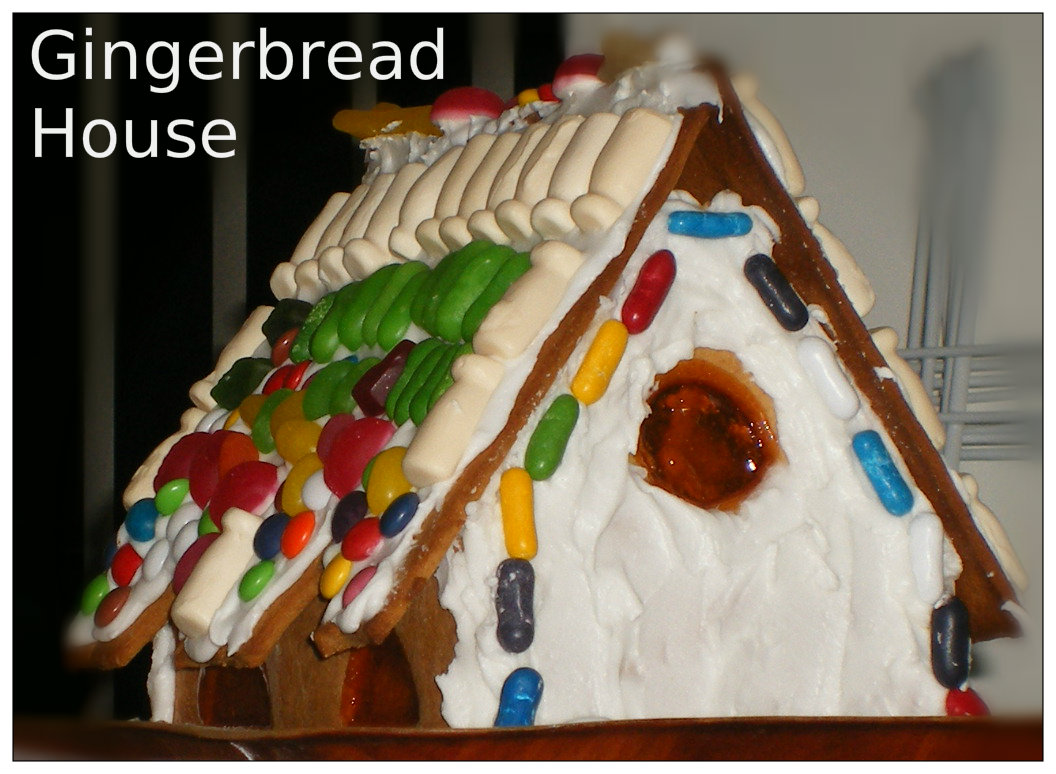
We have a tradition in my family of us kids making a Gingerbread house for Christmas with Mum. We've been doing this since I was about 7 years old and now it has become a bit of a competition between my brother and myself on how each of ours turns out!
The Recipe is just delicious and uses golden syrup instead of treacle or molasses which I think makes it nicer for kids to eat. But then I've grown up on this recipe so I think it is Yummy!.
Gingerbread House Recipe
150g Butter
90g Castor Sugar
600g White Flour
2 teaspoons Ground Ginger
1 teaspoon Mixed Spice
9 Tablespoons Golden Syrup
1 teaspoon baking soda
4 Egg yolks
Boiled sweets - (about 5 needed)
Sweets and chocolates to decorate
Icing
700g Icing Sugar
4 Egg whites
Heat Oven to 160deg Celsius
Cream together butter and sugar.
Add Golden Syrup and mix and then Egg yolks. Mix well.
Add Flour, Spices and Baking soda and mix well. Add a little extra flour if a bit sticky.
Roll out mixture with rolling pin until about 5mm thick.
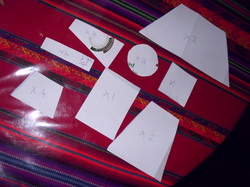
Then carefully cut out shapes below with a knife.
Transfer onto baking tray covered with non-stick baking paper.
In the window holes you place the boiled sweets so they melt and form a stain glass window effect.
Bake in batches in oven until golden brown.
Cool on cooling rack til you are ready to build. ( The sweets will be very hot so watch out!)
Its helps to keep the dough evenly rolled so the gingerbread stays evenly crisp otherwise you can end up with too thin/brittle parts which is very hard not to break when constructing the house.
I would probably roll the pieces out slightly thicker if you were concerned.
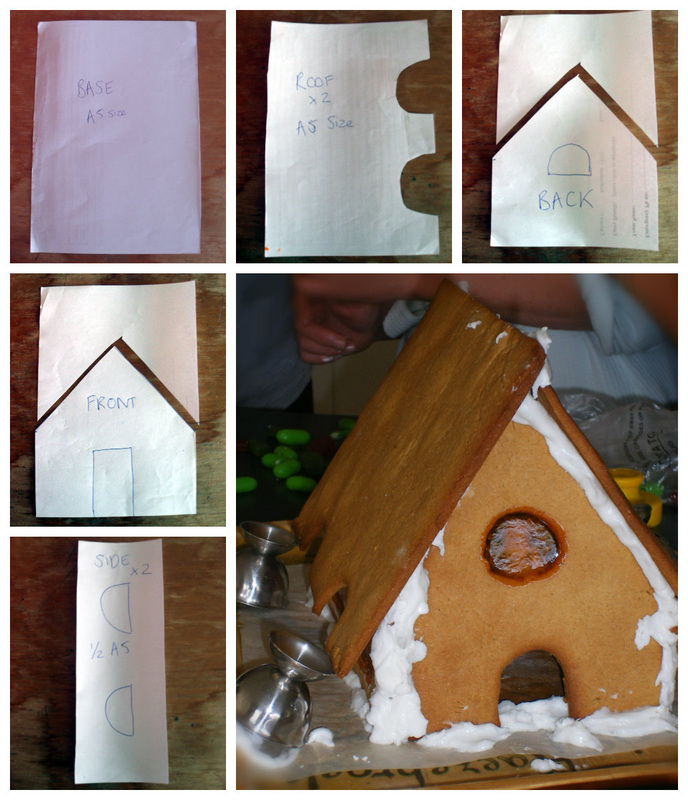
The shapes below are the sizes as follows
Base - A5 size paper
Roof - 2 x A5 size with notches
Back - A5 size with peak cut out as shown and window cut out of centre
Front - same as above with door cut out of centre ( Don't worry too much about the roof angle as long as the front and back match)
Sides - 2 x A5 cut in half vertically with 2 windows cut out on each side.
You can make these pieces as big or as little as you like. My Mum makes small ones to give as gifts at about 1/4 the size of our original.
Then its time to make the icing - which glues the whole thing together.
I'm sure you could find another recipe that doesn't use raw eggs if you were worried about them, just look up Royal icing and you can find some that use egg white powder that you can get at cake shops.
This recipe is old school so we use the real stuff and have never been sick in 20 years of making it.
Icing -
Beat the egg whites until peaks form and add the icing sugar and beat till well combined.
Then place the base of the house on the board you want to serve it on.
Put icing on all edges using a knife or piping bag.
Add the sides, front, and back, icing at all joins.
At this stage it is good to prop the walls up with cups, or egg cups etc and leave it to set for a while before adding the roof. I have tried to rush this and it can all come crashing down.
Once the four sides are stable add the roof, icing all the edges and top.
Prop it up like the egg cup picture above and let it set hard.
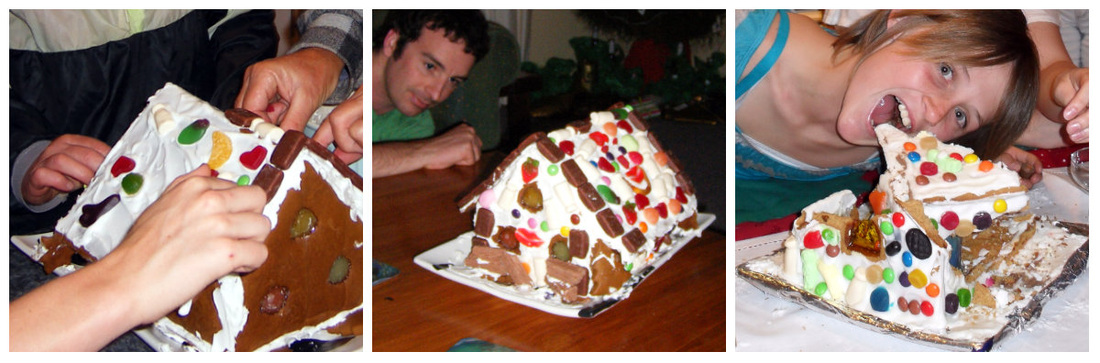
Then is the fun decorating part which we loved as kids and our cousins and kids love now.
Add icing all over the roof, and sides of House.
Add what ever lollies, sweets and chocolates you want, making sure to taste test.
We use Chocolate flakes to look like logs of wood.
Let it set. Then for dramatic effect before eating you can put a little tea light candle inside the house.
Light it up and the stain glass sweet windows light up from the inside!
Yum Yum Yum - then you get to eat it!!!
We have a family rule that you must take a bit of gingerbread when you take a piece, otherwise all the sweets get eaten first!
For Mouse's First Birthday we had a Pirate theme as we had some buried treasure to dig up.
We have some French friends who have a tradition that for their hens/stags party they would get all their friends over with a bottle of wine and bury it somewhere in a large box/coffin. It was to symbolise the death of their single lives.
Then when their first child was born they would dig up the wine filled box and have a big party to celebrate the new life!
We did this when we had our house warming and what with being so tired from a new baby - (and it being the middle of winter) we decided to dig up our "treasure" a little later on his first birthday.
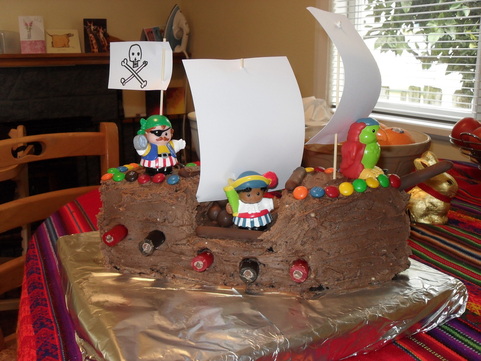
So for the pirate party, a pirate ship cake it was.....
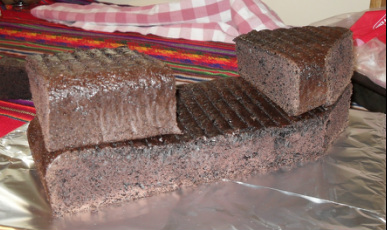
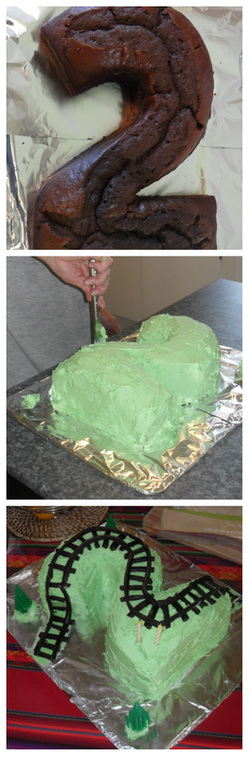
I started with a large chocolate cake that I baked in a rectangle roasting tray.
This one from Annabel Langbein is awesome and very easy.It does make a huge cake!
Then I cut it in half and then cut two squares shape for the front and back of the ship.
I then shaped the front 2 levels to make a pointy bowsprit.

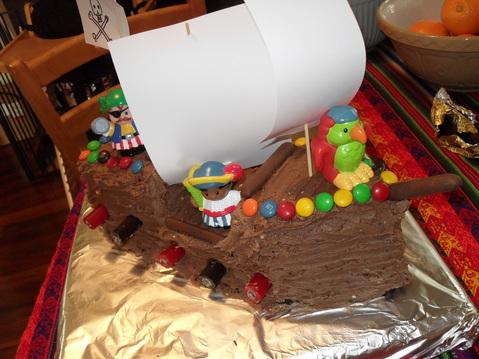
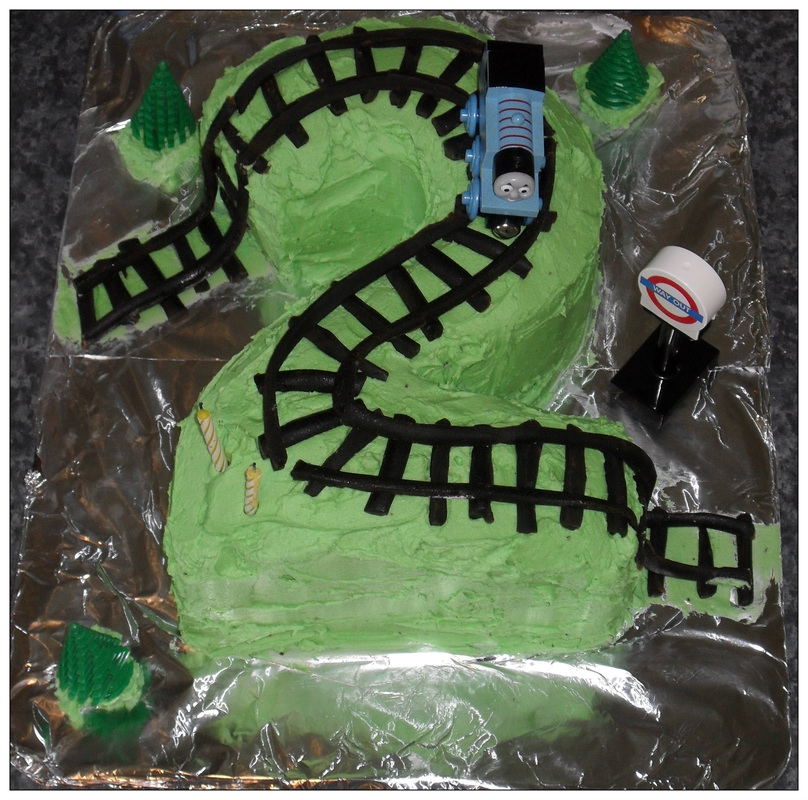
Then it was decorating time!!!
I used chocolate filled raspberry and black liquorice cut to make the cannons.
Then chocolate fingers for floor boards and bowsprit.
To make it more colourful I used M&Ms to edge the top and then made the masts out of BBQ skewers.
The Sails were just plain A4 paper cut to shape with skull and cross bones on the back.
I would have used black paper but I ran out of time.
My Friend luckily had some Little People Pirates to add the finishing touch.
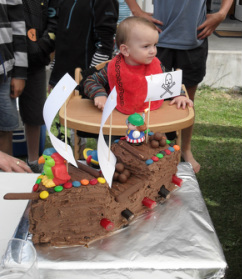
Mouse did enjoy it ...
Not that you can really tell from this photo!